INSTRUCTIONS ON
HOW TO BLOCK YOUR NEEDLEPOINT
You are now ready to finish your labour of love!
The first step is to learn how to block it!
When I first started doing needlepoint several years ago, I had my needlework stretched and blocked professionally.
I was too afraid of ruining all my work!
Not to fear! The process of blocking needlepoint is straight forward...just take your time.
However, if you still feel reticent after reading these instructions, get it done professionally at your local needlepoint or craft store.
In time, you will feel more confident in doing it yourself!
These needlepoint instructions and tips on needlepoint blocking should help.
A FEW TIPS BEFORE STARTING
• Some recommend that even if your tapestry has been worked on a frame, and is not distorted, it will look fresher after blocking. I tend to agree.
• If you have worked your needlepoint with the canvas stretched very taut on a frame, it may not need stretching and blocking!
But if you have worked it in your hands, which I prefer, it will definitely need to be smoothed out and may even need to be pulled back into shape!
• Before blocking, hold the work up to a strong light to make sure that no stitches are missing.
• Trim the yarn ends closely on the wrong side.
LIST OF SUPPLIES NEEDED FOR BLOCKING :
- Blocking board: ½” to 3/8” plywood board at least 6” larger than tapestry or purchased blocking board
- blotting paper (for plywood surface),
- non-rusting upholstery tacks
- hammer
- pliers
- distilled water in clean spray bottle
- T-square or set square or ruler
How I Blocked
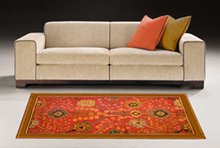
the ‘Morris Mineur’ Area Rug
To learn more about this area rug design, inspired by William Morris, go to 'Morris Mineur' Area Rug.
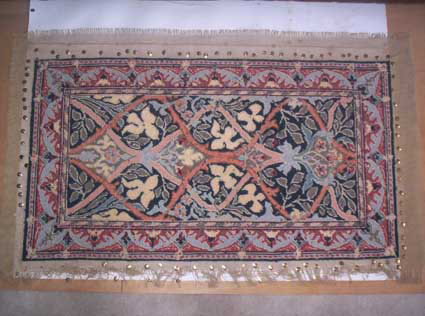
HERE'S HOW I DID IT:
• Spray but do not soak the back of the needlepoint tapestry with distilled water. After wetting let canvas rest for 5 – 10 minutes for water to absorb and relax the fibres. This will help the canvas to be more manageable when blocking.
• Stretch the tapestry face down onto a large piece of plywood which is covered with blotting paper. (NOTE: A blocking board can be used as well and is available at local needlepoint suppliers.)
The blotting paper can be attached to the plywood by tape or flat headed tacks. But make sure there are no tacks under the tapestry.
• Start lightly tacking the tapestry down from the middle of each side and work to the outside corners. Don't secure the tacks too far into the plywood in case you need to remove or reposition them.
• Keep checking that your tapestry is square with a set square or ruler as you go, and gently push it square where needed. Continue to re-spray lightly to keep it damp as you’re blocking.
• If your piece has a geometric border, be doubly sure that all the right angles are exact.
• Make sure that it is perfectly straight before tacking it down with a small hammer.
• Let dry flat in an out-of-the-way place.
• Wait several days for it to dry naturally and completely.
• When you’re sure it’s dry, start at one corner and slowly remove the tacks.
VOILA! What an exciting moment when you turn it over and see your beautiful needlepoint tapestry!
TIP FOR BLOCKING
A CURVED TAPESTRY CANVAS
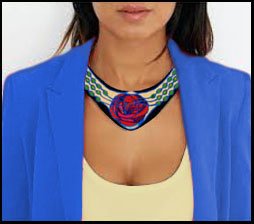
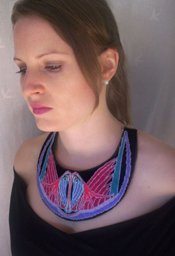
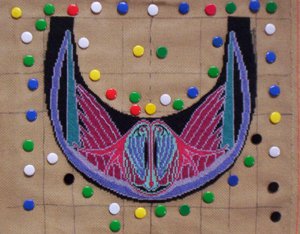 The best way I have found for blocking a curved canvas is to mark a grid on the canvas at 1” or 2” intervals around the finished stitching, as shown above on our new collar necklace design. Make sure that you use a waterproof pen or pencil. NOTE that I blocked the necklace right side up to prevent some of the decorative stitches from being flattened when blocking. |
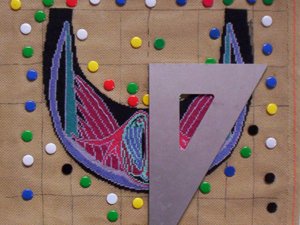 Then block your canvas as you would do normally as outlined for the carpet above. Keep checking that the tapestry is square with a set square as you are tacking it down as shown. Have a look at this finished collar necklace called 'Les Plumes en Rose'! |
What is Your Blocking Experience?
I’ve read that if you ask 648 stitchers what the best method for successful blocking is, you will get 648 answers!
What blocking method works for you? Share your experience, story or tip about blocking needlepoint!
What Other Visitors Have Said About Blocking Needlepoint
Click on the links below to see some great tips and experiences about blocking needlepoint. They were all written by other visitors to this page.
Blocking 


From Thistle Needleworks, USA
"I have been told by a professional finisher that she uses watered-down wallpaper paste. The results are quite good from …
Blocking Tip for a Large Canvas Not rated yet
Blocking the William Morris Acanthus tapestry (6'2" x 3').
I’m such a newbie to all of this and have little experience. I’d never even heard of stretching …
Blocking Board Not rated yet
Instead of plywood, nails and a hammer, use extra thick foam blocking mats. The individual “tiles” measure 12.5” square and 3/4 “ thick, and fit together …
DIY extremely sturdy blocking board. Not rated yet
I have blocked this way for twenty plus years, Actually my materials have lasted this long, just needed new tape job once. I purchased a number of acoustic …
My blocking tip Not rated yet
Measure the outside dimensions of the canvas design before you start sewing. This is the ultimate size and shape you want your work to be when blocking …
Blocking for small pieces Not rated yet
I block small pieces on my ironing board. I tack it on using sewing pins, and then hang the ironing board back up on the wall, facing out, while the piece …
What's the Next Step After Blocking?
Now you have our tips on how to block it... what’s the next step?
Sewing it together!
Pick up tips on FINISHING AND SEWING NEEDLEPOINT... from seat covers to handbags and cushions.
Go to How to Do Needlepoint page, to review the other steps in starting and finishing a needlepoint project.
Like This Page?
Translate any page on this site to your language!


NEW!
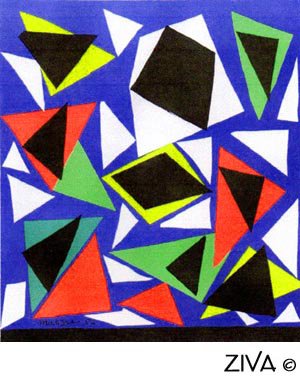
NEW!
'MATISSE TRIANGLES' CUSHION DESIGN
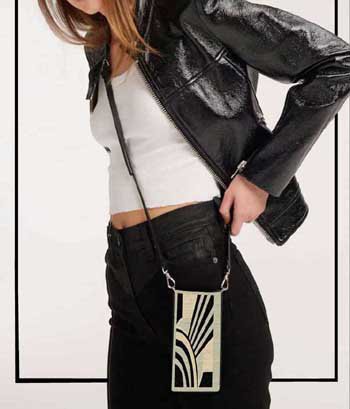
NEW!
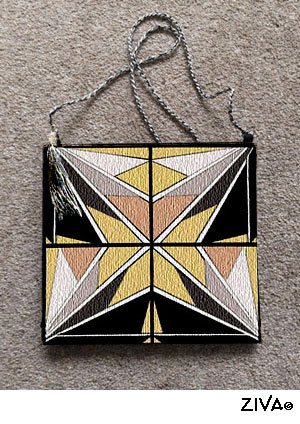
FREE ART DECO CELL PHONE OR GLASSES CASE DESIGN

NEW!
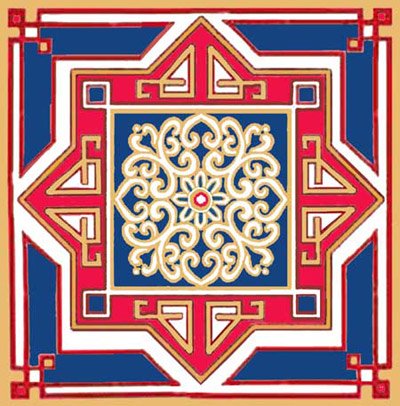
NEW!
THREE FREE
ANCIENT CHINESE CUSHION DESIGNS
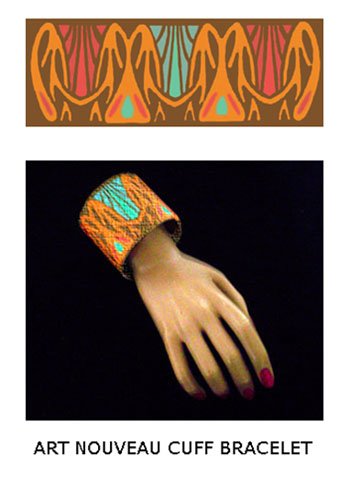
NEW!
THREE FREE
ART NOUVEAU
CUFF BRACELETS DESIGNS
NEW!
TWO PERSIAN
OR

NEW!
GAUDI'S STAINED-GLASS CUSHION DESIGNS
NEW!
ANOTHER MACKINTOSH INSPIRED DESIGN!
WITH MANY USES...
TRAY, FRAMED, CLUTCH BAG OR CUSHION!
TWO MORE
STAINED-GLASS DESIGNS
FOR CUSHIONS

TWO MORE
JAPANESE DESIGNS
FOR
OR
FOR YOUR WRIST OR ON A BASE
YOU CHOOSE!
MORE!
INSPIRED BY A PICASSO PAINTING!
FOUR MORE
FRENCH COUNTRY DESIGNS
FOR
OR
MORE!
NEW!

NEW!

NEW!
NEW!
NEW!
INSPIRED BY MACKINTOSH!

NEW!
NEW!
MORE
MORE
STAINED GLASS CUSHION PATTERNS
NEW!
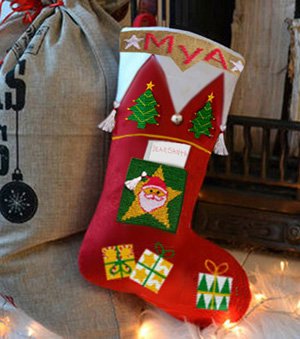
FOR CHRISTMAS STOCKING!

NEW!
INSPIRED BY PICASSO!
FOR A COIN PURSE OR CARD HOLDER

NEW!
FOR CUSHIONS

FOR LOTS OF MAKING UP IDEAS!

FOR TOTE BAGS OR HANDBAGS
FOR NEEDLEPOINT ART
IN THE PRAIRIE STYLE!
INSPIRED BY
MATISSE!
INSPIRED BY
GUSTAV KLIMT!
INSPIRED BY
MACKINTOSH!

CUSHION DESIGNS
'MY FRENCH COUNTRY' SERIES
